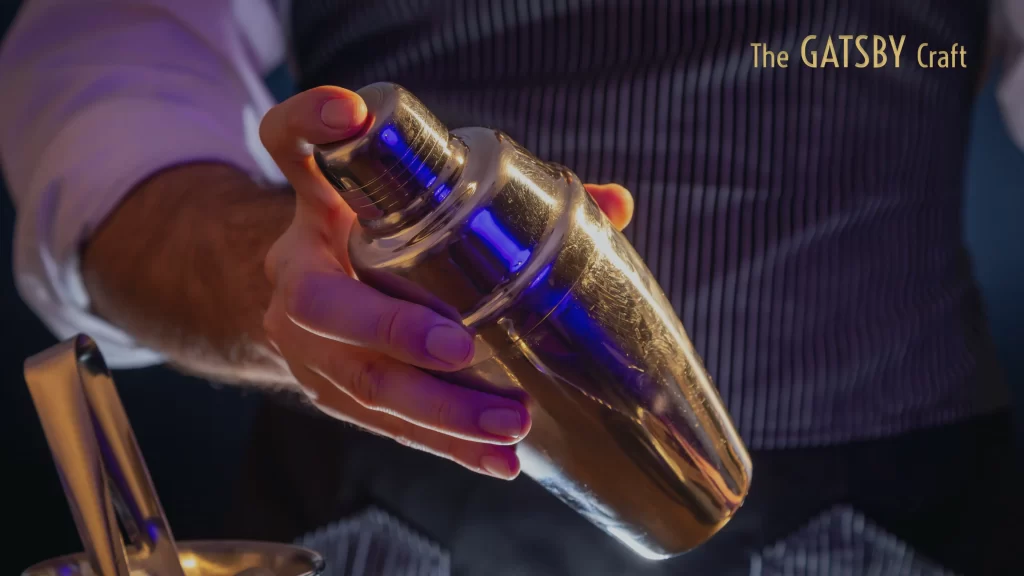
Are you ready to take your mixology skills to the next level and become the ultimate bartender? Look no further than the mighty cocktail shaker. This powerful tool is the secret behind crafting perfectly blended and tantalizing cocktails that will impress even the most discerning of taste buds. In this blog, we’ll guide you through the art of using a cocktail shaker, unlocking a world of flavors and creativity right in the comfort of your own home.
Why Shake It Up?
Before we dive into the steps, let’s quickly explore why using a cocktail shaker is essential for creating exceptional cocktails. A cocktail shaker serves a dual purpose: it thoroughly mixes your ingredients and chills them in the process. The act of shaking combines the flavors, extracts essence from ingredients like citrus peels, and creates a beautiful, frothy texture that adds a touch of elegance to your libations.
The Steps to Cocktail Mastery
Now, let’s walk through the steps to achieve mixology greatness:
Step 1: Assemble Your Ingredients
Before you begin, ensure you have all your ingredients prepped and ready to unleash their flavor potential. Gather your spirits, mixers, ice, and any fresh fruits or herbs you’ll be using to create that wow factor in your cocktails.
Step 2: Add Ice and Measurements
Fill your cocktail shaker about two-thirds of the way with ice. This ice is crucial for chilling your cocktail rapidly and ensuring a refreshing sip every time. Now, use a jigger or measuring tool to measure the precise amount of each ingredient, following your cocktail recipe meticulously. Pour the measured ingredients into the shaker over the ice.
Step 3: Lock and Load
With a firm grip, seal the shaker tightly by placing one hand on the top of the shaker, securing the lid firmly. Use your other hand to hold the bottom part of the shaker. We’re now ready to shake things up!
Step 4: Shake with Gusto
Shake vigorously, channeling your inner mixologist, for approximately 10-15 seconds. The goal is to create a harmonious blend of flavors while chilling the liquid to perfection. This vigorous shaking ensures that every ingredient gets acquainted and dances together flawlessly within the shaker.
Step 5: Break the Seal
After your intense shaking session, hold the shaker firmly with one hand and use the heel of your other palm to tap the side of the shaker near the top. This shaker twerk, if you will, will break the seal and make opening the shaker a breeze.
Step 6: Strain and Serve
Grab a strainer and position it over your glass or serving vessel, ensuring a snug fit. With grace, pour the cocktail slowly and evenly through the strainer, allowing the liquid to flow smoothly into your glass, while keeping any ice shards or fruit remnants out of the final pour. This not only enhances the aesthetics but also ensures a velvety mouthfeel.
Step 7: Garnish and Delight
Your beautifully crafted cocktail is now ready to take center stage! Add a final touch of flair by garnishing it with fresh herbs, citrus twists, or even a delightful cocktail umbrella. Take a step back, appreciate your creation, and get ready to impress your guests.
Raise Your Glass to Mastery
Congratulations, you’ve mastered the art of using a cocktail shaker! With this newfound skill, you can unlock a world of creativity and concoct an array of delicious cocktails that will leave your guests in awe. The cocktail shaker is your trusty companion on this mixology adventure, helping you effortlessly blend flavors and infuse your concoctions with a touch of elegance.
So, go forth, experiment with different recipes, and let your mixology skills shine. With the cocktail shaker as your ally, you’ll become a master bartender, ready to delight and inspire with every pour. Cheers to innovation, creativity, and unforgettable cocktails!

